Humanoid Robot Maintenance & Care: UK Owner's Guide
Keep your robot running smoothly with our maintenance schedule. Covers cleaning, battery care, software updates, and common fixes.
Robots4Home Team
robots4home.uk
Owning a humanoid robot is a genuinely exciting step into the future, but like any sophisticated piece of technology, it needs regular attention to perform at its best. Whether you’ve just unboxed your first unit or you’ve had one pottering around the house for months, a solid maintenance routine will keep it running reliably, extend its working life, and help you avoid costly repairs down the line.
In this guide, we walk through everything UK owners need to know, from daily habits to seasonal considerations, with practical advice tailored to the British climate and lifestyle.
Daily Care: Quick Checks That Make a Big Difference
A good daily routine takes no more than five minutes and prevents the vast majority of common issues we see owners report.
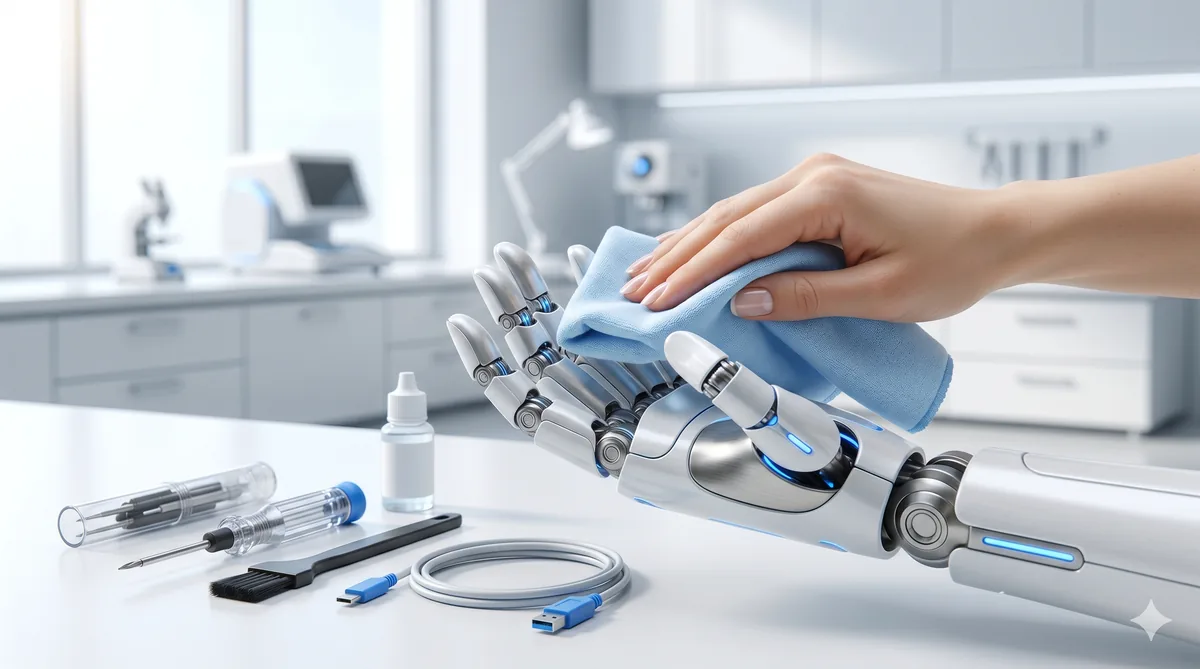
Wipe down sensors and cameras. Dust, fingerprints, and kitchen grease can accumulate on optical sensors, LIDAR units, and camera lenses surprisingly quickly. Use a dry microfibre cloth (the same kind you’d use for spectacles) and gently wipe each sensor. If your robot operates near cooking areas, do this twice daily.
Inspect feet and contact surfaces. Check the foot pads for debris, small stones, or anything stuck to the grip surface. Even a tiny pebble wedged into a foot pad can throw off the robot’s gait calibration and accelerate wear on the joints above.
Give the joints a visual once-over. Look at the major joints (knees, hips, shoulders, elbows) and listen for any new clicking, grinding, or whirring sounds during movement. Catching a worn joint early can save you from a much more expensive repair later. For a deeper dive into spotting problems, see our troubleshooting guide.
Check the charge level. Most robots display their battery status on a chest or head-mounted indicator. Get into the habit of glancing at it in the morning and before bed, so you can plan charging around your routine.
Weekly Tasks: Going a Bit Deeper
Set aside 20 to 30 minutes once a week for more thorough care.
Deep clean the exterior. Use a slightly damp microfibre cloth with a small amount of electronics-safe cleaning solution. Work methodically from top to bottom, paying extra attention to the hands, forearms, and any areas that regularly contact surfaces. Dry thoroughly afterwards, particularly around joints and port covers.
Check for software updates. Most manufacturers push updates over Wi-Fi, but not all robots download them automatically. Open the companion app or onboard settings menu and check for pending updates. We cover the best approach to managing these in the software section below.
Test safety features. Run a quick check of emergency stop functions and obstacle avoidance. This is especially important if you have children or pets. Our safety guide has a full checklist you can follow.
Clear stored data and logs. Some robots accumulate temporary mapping data, interaction logs, and cached sensor readings. Clearing these periodically keeps performance snappy and frees up onboard storage.
Monthly Maintenance: The Big Service
Once a month, we recommend a more comprehensive session. Think of it as the robot’s equivalent of a car service.
Battery health check. Open the diagnostics panel (either on the robot itself or through the companion app) and review the battery health report. You’re looking for overall capacity, charge cycle count, and any flagged warnings. If capacity has dropped below 80% of the original specification, it may be time to start thinking about a replacement. For context on how battery health affects running costs, see our energy costs breakdown.
Joint lubrication. Many humanoid robots have user-serviceable joints that benefit from periodic lubrication. Always use the lubricant specified by the manufacturer, as the wrong product can damage seals or attract dust. Apply sparingly to each joint following the manual’s instructions, then run the robot through a full range-of-motion cycle to distribute the lubricant evenly.
Firmware and system integrity. Beyond regular software updates, monthly is a good time to run a full system diagnostic. This checks firmware integrity, sensor calibration, motor controller health, and communication between subsystems. Most robots have a built-in diagnostic mode that takes 10 to 15 minutes to complete.
Inspect cables and connectors. If your model has any user-accessible internal panels, check for loose connections, frayed cables, or signs of corrosion. In the UK’s damp climate, corrosion can creep in faster than you might expect.
Seasonal Care: Dealing With the British Climate
The UK’s weather presents some specific challenges that owners in drier, more temperate climates simply don’t face.
Winter humidity and condensation. British winters bring cold, damp air that can cause condensation inside your robot, particularly if it moves between a warm house and a cold conservatory or garage. After any exposure to cold conditions, allow the robot to acclimatise in a dry, room-temperature environment for at least 30 minutes before charging or running intensive tasks. Condensation on circuit boards is one of the leading causes of unexpected faults we see during the winter months.
Summer heat. While less of a concern than in hotter countries, direct sunlight through south-facing windows can overheat external panels and degrade rubber components. Keep your robot out of prolonged direct sunlight when it’s not active.
Spring and autumn transitions. These are the dampest seasons in much of the UK. If you store your robot in a utility room, ensure the space is well ventilated. A small dehumidifier nearby can work wonders.
Battery Care Best Practices
The battery is one of the most expensive components to replace, so proper care is well worth the effort.
Follow the 80% rule. Where possible, charge your robot to around 80% rather than 100% for everyday use. Most modern lithium-based batteries last significantly longer when they’re not regularly pushed to full capacity. Only charge to 100% when you know you’ll need the full range.
Avoid deep discharges. Try not to let the battery drop below 20% regularly. Deep discharge cycles place extra stress on battery cells and reduce overall lifespan.
Storage charging. If you’re going away on holiday or won’t be using your robot for more than a few days, charge it to approximately 50% and switch it to storage mode. Leaving it fully charged or completely flat for extended periods accelerates degradation.
Expected lifespan. With good habits, most humanoid robot batteries last between two and four years before capacity drops noticeably. Budget for a replacement at around the three-year mark.
Cleaning Materials: What to Use and What to Avoid
Getting the cleaning products right is straightforward, but using the wrong thing can cause real damage.
Safe to use:
- Dry microfibre cloths for daily sensor and screen cleaning
- Lightly dampened microfibre cloths for exterior surfaces
- Electronics-safe cleaning sprays (isopropyl alcohol-based, 70% concentration)
- Compressed air canisters for clearing dust from vents and joints
- Manufacturer-specified joint lubricant
Avoid at all costs:
- Household cleaning sprays (kitchen cleaners, glass cleaners with ammonia)
- Abrasive cloths, scouring pads, or paper towels
- Excess water or any form of steam cleaning
- WD-40 or general-purpose lubricants on precision joints
- Solvents such as acetone or white spirit
Common Wear Items and Replacement Schedule
Like tyres on a car, certain parts are designed to be replaced periodically.
| Component | Typical Lifespan | Estimated Cost |
|---|---|---|
| Foot pads / grip surfaces | 6 months | £20-£40 per set |
| Hand grippers / finger tips | 12 months | £30-£60 per set |
| Battery pack | 2-4 years | £150-£400 |
| Sensor covers / lens protectors | 12-18 months | £10-£25 |
| Joint seals | 18-24 months | £15-£35 each |
Foot pads wear fastest, particularly on hard flooring. If you notice your robot slipping or its gait becoming less stable, check the pads first. Gripper surfaces on the hands degrade with regular use, especially if the robot handles textured or rough objects frequently. For guidance on upgrading rather than simply replacing components, have a look at our upgrade guide.
Software Update Management
Software updates can improve performance, add features, and patch security vulnerabilities, but they need managing sensibly.
Don’t skip security patches. These should be applied promptly. Security vulnerabilities in a device that moves around your home and may have cameras and microphones are not something to leave unpatched.
Read the release notes before major updates. Occasionally, a large update can change behaviour or require recalibration. Check community forums and the manufacturer’s notes before applying anything major.
Schedule updates for downtime. Run updates overnight or when you won’t need the robot for a few hours. Some updates require a restart and recalibration cycle that can take 30 minutes or more.
Keep a note of the current version. If something goes wrong after an update, knowing exactly which version you were on before helps enormously when speaking to support.
When to Seek Professional Repair
Not every problem is a DIY fix. Contact a certified repair service or the manufacturer if you notice any of the following:
- Persistent error codes that don’t clear after a restart
- Unusual heat from any component, especially the battery
- Visible damage to internal wiring or circuit boards
- Joint movement that feels rough or restricted despite lubrication
- Any issue related to the battery swelling, leaking, or emitting unusual odours
- Software problems that survive a factory reset
Attempting repairs beyond your skill level can void your warranty and create safety hazards. Our warranty and support guide explains what’s typically covered and how to make a claim.
Maintenance Costs: What to Budget
For a typical household humanoid robot, we estimate annual maintenance costs of £100 to £300, broken down roughly as follows:
- Replacement wear items (foot pads, grippers, seals): £60-£120
- Cleaning supplies and lubricant: £15-£30
- One professional diagnostic or minor service: £50-£150
This doesn’t include major component replacements like batteries, which are less frequent but more costly. Setting aside a small monthly amount, perhaps £15 to £25, means you’ll never be caught off guard by routine upkeep.
UK-Specific Storage Tips
Where you keep your robot when it’s not in use matters more than many owners realise.
Garages are generally too damp. The average UK garage is unheated, poorly insulated, and prone to condensation. Storing a humanoid robot in these conditions, even overnight, can introduce moisture into joints and electronics. If a garage is your only option, invest in a dehumidifier and a weatherproof cover, and avoid storing the robot directly on a concrete floor.
Best storage locations: A dry, room-temperature indoor space is ideal. A hallway cupboard, spare room, or utility room with reasonable ventilation all work well. Avoid locations next to external walls where damp can be an issue in older properties.
Use the charging dock wisely. If your robot has a dedicated dock, place it away from windows (to avoid direct sunlight and temperature fluctuations) and away from radiators (to prevent localised overheating).
Building a Maintenance Habit
The best maintenance routine is one you actually stick to. We’d suggest starting simple: pin the daily checks to an existing habit, like your morning coffee, and set a weekly phone reminder for the deeper clean. Monthly tasks can go in your calendar just like a car service reminder.
A well-maintained humanoid robot will reward you with years of reliable service, fewer unexpected breakdowns, and better resale value when the time comes to upgrade. The small investment of time and attention really does pay for itself.