Integrating Humanoid Robots with Smart Home Systems: Complete Tutorial
Connect your humanoid robot to Alexa, Google Home, HomeKit, and other smart home platforms. Complete integration guide.
Robots4Home Team
robots4home.uk
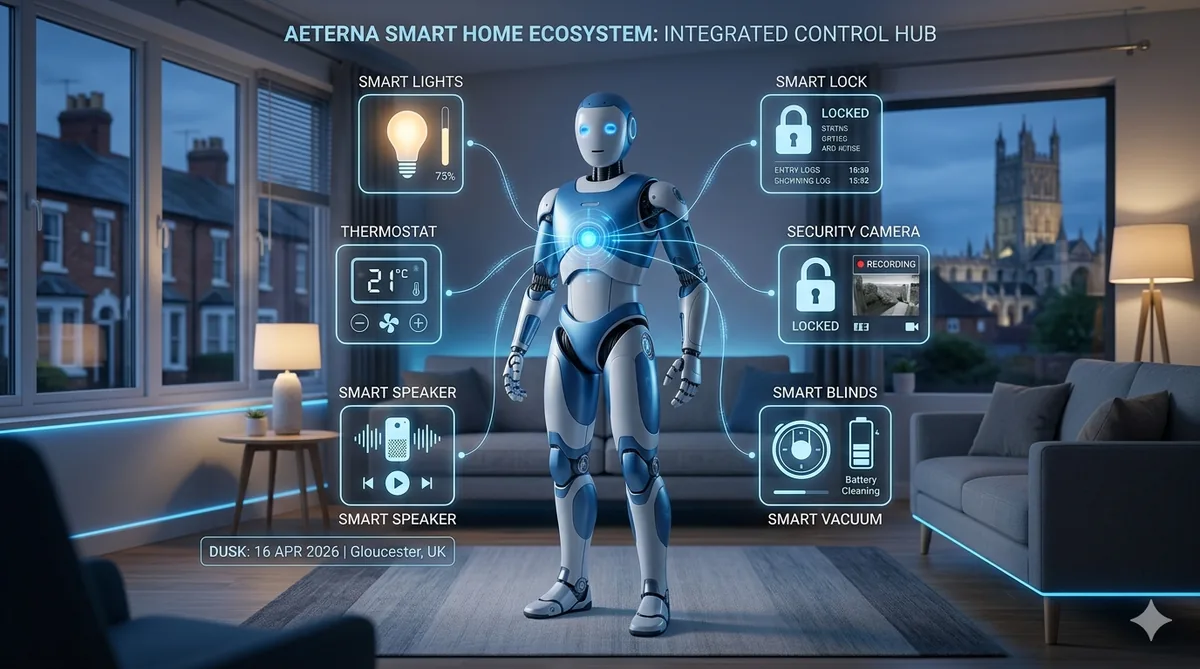
Your humanoid robot is impressive on its own, but connecting it to your smart home ecosystem is where the real magic happens. Imagine saying “goodnight” once and having your robot begin a security patrol while the lights dim, the doors lock, and the thermostat drops to your sleeping preference — all triggered by a single command.
In this tutorial, we walk you through everything you need to know about integrating a humanoid robot with the most popular smart home platforms. Whether you are running Alexa, Google Home, Apple HomeKit, or the powerhouse that is Home Assistant, we have you covered.
Compatible Smart Home Platforms
Before diving into setup steps, it is worth understanding which platforms currently support robot integration and how mature that support is.
Amazon Alexa offers the broadest third-party device support, and several humanoid robot manufacturers now provide Alexa Skills that allow voice commands to trigger robot behaviours. If your home already runs on Alexa, this is often the path of least resistance.
Google Home (and the Google Nest ecosystem) supports device linking through the Google Home app. Robots that expose a cloud API can be added as linked devices, enabling Google Assistant routines that include robot actions alongside your existing smart devices.
Apple HomeKit is the most restrictive of the major platforms. Most humanoid robots do not support HomeKit natively, but you can bridge the gap using Home Assistant with the HomeKit Bridge integration — more on that below.
Home Assistant is the open-source option that ties everything together. It supports virtually every smart home protocol and device, and its automation engine is powerful enough to orchestrate complex routines involving your robot, lights, locks, cameras, and sensors. If you are serious about deep integration, Home Assistant is our top recommendation.
Connection Methods Explained
How your robot communicates with your smart home hub matters. Here are the main protocols you will encounter:
- Wi-Fi — The most common connection method. Your robot joins your home Wi-Fi network and communicates with cloud services or local hubs. Reliable, but can suffer from congestion on busy networks.
- Bluetooth / BLE — Used primarily for initial setup, proximity-based triggers, and low-latency local commands. Range is limited to roughly 10 metres indoors.
- Matter protocol — The newest standard, backed by Apple, Google, Amazon, and Samsung. Matter promises unified device communication, and newer robots are beginning to ship with Matter support. If your robot supports it, Matter simplifies multi-platform integration enormously.
- Zigbee bridge — Some robots can act as Zigbee coordinators or connect via a Zigbee bridge (such as the one built into certain Amazon Echo devices). This is useful for communicating with Zigbee-based sensors and locks without routing through the cloud.
For most households, Wi-Fi will be the primary connection with Matter as a secondary protocol for cross-platform compatibility. We discuss network architecture recommendations further on.
What Integration Actually Enables
Connecting your robot to your smart home is not just about novelty. It unlocks three genuinely useful categories of functionality:
Voice-triggered robot tasks. Ask Alexa or Google to tell your robot to patrol the house, check a specific room, fetch a status update, or return to its charging dock. This is particularly handy when you are in bed or away from home.
Robot-activated smart devices. Your robot’s sensors can trigger smart home actions. For example, if the robot detects an open window during a patrol, it could activate a smart alert or turn off the heating in that zone. If it detects motion in an unexpected area, it could trigger security protocols including turning on lights and starting a camera recording.
Automated routines and scenes. This is the most powerful category. You can build multi-step automations that coordinate the robot with every other device in your home. A “leaving home” routine might instruct the robot to begin periodic patrols, arm the alarm, lock all doors, and switch off unnecessary appliances.
Platform-by-Platform Setup Tutorials
Amazon Alexa: Skill Installation and Routine Creation
- Open the Alexa app on your phone and navigate to More > Skills & Games.
- Search for your robot manufacturer’s skill (e.g., “Unitree Home” or “Kebbi Air Smart”). Install the skill and sign into your robot manufacturer’s account when prompted.
- Alexa will discover your robot as a new device. You should see it listed under Devices > All Devices.
- To create a routine, go to More > Routines > + (Create Routine).
- Set a trigger — this could be a voice command (“Alexa, goodnight”), a schedule (every day at 23:00), or a device event (front door lock engaged).
- Under actions, add your robot’s available commands alongside other smart home actions. For example: robot patrol + living room lights off + thermostat to 18 degrees.
- Save and test the routine.
If you need help with the initial robot setup before this stage, see our complete setup guide.
Google Home: Device Linking and Routines
- Open the Google Home app and tap the + icon, then Set up device > Works with Google.
- Search for your robot manufacturer’s integration and link your account.
- Your robot should appear in your device list. Assign it to the appropriate room.
- To create a routine, go to Automations > + Add and select Household or Personal routine.
- Choose a starter (voice command, time, or device state) and add actions that include your robot alongside other devices.
- Google Home allows sequencing, so you can set actions to happen in a specific order — useful for having the robot confirm a task before the next step triggers.
Apple HomeKit: Via Home Assistant Bridge
Since most robots lack native HomeKit support, the practical approach is:
- Install Home Assistant on a Raspberry Pi, mini PC, or as a virtual machine.
- Add your robot to Home Assistant using its dedicated integration or via MQTT if the manufacturer supports it.
- In Home Assistant, navigate to Settings > Devices & Services > Add Integration and search for HomeKit Bridge.
- Configure the bridge and select which entities (including your robot’s controls) to expose to HomeKit.
- Open the Apple Home app and add the Home Assistant bridge as an accessory using the code provided.
- Your robot’s exposed controls will now appear in the Home app, and you can include them in HomeKit scenes and automations.
This method also lets you bring non-HomeKit devices like Zigbee sensors into the Apple ecosystem, making your entire setup accessible from your iPhone or Apple Watch.
IFTTT and Zapier Integration
For those who want integration without deep technical setup, IFTTT (If This Then That) and Zapier offer middle-ground solutions.
With IFTTT, you can create applets that connect your robot’s cloud service to hundreds of other services. Examples include: if your robot detects an unfamiliar face, send a notification to your phone and flash the Hue lights red; or if you arrive home (detected by your phone’s GPS), instruct the robot to greet you and switch on the hallway lights.
Zapier is more business-oriented but useful if you want your robot to trigger actions in productivity tools — for instance, logging patrol reports to a Google Sheet or sending a Slack message when the robot completes a task.
Both platforms rely on cloud-to-cloud connections, so there will be a slight delay (typically 1-5 seconds) compared to local integrations.
Creating Combined Automations
The real power of smart home robot integration lies in combined automations. Here are a few practical examples to inspire your own:
“Goodnight” routine: When you say “goodnight,” the robot begins a full-house security patrol. Simultaneously, all lights transition to off over 60 seconds, the front and back doors lock, the alarm arms in night mode, and the thermostat drops to your sleeping temperature. Once the robot completes its patrol and confirms all clear, it returns to its dock and sends a summary notification to your phone.
“Welcome home” routine: Your smart lock detects your arrival. The hallway lights switch on, the robot moves to greet you, the heating adjusts to your comfort temperature, and your preferred music begins playing.
“Away” routine: Triggered by everyone leaving (via phone GPS or a manual command). The robot enters randomised patrol mode, lights simulate occupancy on a schedule, cameras activate recording, and the robot periodically checks windows and doors.
For guidance on programming custom behaviours into your robot to support these automations, see our beginner programming guide.
Model-Specific Integration Capabilities
Integration capabilities vary significantly between robot models. Higher-end robots from manufacturers like Unitree, Agility, and UBTECH tend to offer published APIs and official smart home integrations. Mid-range consumer robots may only support basic voice commands through Alexa or Google. Budget models often have limited or no smart home integration at all.
Before purchasing, we strongly recommend checking whether your preferred robot supports the smart home platform you use. Our features comparison guide includes integration capability details for the most popular models.
Current Limitations to Be Aware Of
We want to be honest: smart home integration for humanoid robots is still maturing. Most robots currently support only a handful of commands through voice assistants rather than full bidirectional integration. Response times can be sluggish when commands route through cloud services. Not all robot sensors are exposed to smart home platforms, limiting the automations you can build. Firmware updates sometimes break existing integrations, and there is no universal standard yet for robot-to-smart-home communication (though Matter may eventually fill this gap).
That said, the landscape is improving rapidly. Each year brings better APIs, more official integrations, and stronger community support — particularly within the Home Assistant ecosystem.
Recommended Smart Home Devices That Pair Well with Robots
To get the most from your robot integration, consider these complementary devices:
- Smart locks (Yale, Nuki, August) — Allow the robot to confirm lock status and trigger locking/unlocking routines.
- Motion sensors (Aqara, Philips Hue) — Supplement the robot’s own sensors for comprehensive presence detection.
- Smart lights (Philips Hue, LIFX, IKEA DIRIGERA) — Enable coordinated lighting during robot patrols or routines.
- Smart plugs (TP-Link Tapo, Meross) — Let the robot indirectly control non-smart appliances.
- Video doorbells (Ring, Google Nest) — Pair with the robot for a layered home security approach.
- Smart speakers (Echo, Nest, HomePod) — Act as voice command endpoints for triggering robot routines from any room.
Network Architecture Tips
A robust network is essential for reliable robot-smart-home integration. Here are our key recommendations:
Create a separate IoT network. Most modern routers support multiple SSIDs or VLANs. Put all your smart home devices and the robot on a dedicated IoT network, separate from your primary devices (laptops, phones). This improves security and reduces congestion.
Use a mesh Wi-Fi system. Robots move throughout the house, so consistent coverage is critical. Mesh systems from the likes of TP-Link Deco, Google Nest Wi-Fi, or Ubiquiti ensure the robot maintains a strong connection in every room.
Prioritise local control where possible. Cloud-dependent commands add latency and fail during internet outages. Home Assistant, Zigbee, and Matter all support local communication, which is faster and more reliable.
Assign static IP addresses to your robot and key smart home hubs. This prevents connection drops caused by DHCP lease renewals.
Keep firmware updated on your router, robot, and all smart home devices. Integration bugs are frequently patched in updates.
Bringing It All Together
Integrating a humanoid robot with your smart home system transforms both from useful individual tools into a cohesive, intelligent household. Start with a single platform and a simple routine, then expand as you grow comfortable. The combination of a mobile, sensing robot with a network of smart devices creates possibilities that neither can achieve alone.
For those just getting started with their first robot, begin with our initial setup guide and work your way up to the integrations described here. The effort is well worth it.